Slave 1 Painting Guide
Below is a guide I am working on that outlines the processes I have used and discovered while painting Slave 1 model kits. If you would like to add input or contribute in any way, please reach out to me at info(*at*)blackstarmodeling.com.
Here is the list of all the colors used in painting my Slave 1.
Cockpit Hull: Phase 1
Step 1 > Prime the entire kit and paint both hulls with Light Reefer Grey.

Step 2 > Mask off any parts of the kit that you want to keep grey. Leave this masking on until the very end.
Step 3 > Paint the upper hull with Olive Oxide and lightly cover that with Coach Green.

*You can see some of the maskings above that will show the Light Reefer Grey at the end.
Step 4 > Mask the areas in which you want to keep the lighter color.

Step 5 > Paint the entire upper hull with Weyerhaeuser Green. For this step, I am not going for full coverage and allow some different shades to show throughout.


Step 6 > Mask the sides and the front/side sections of the upper hull and paint with Grey Green first:

Followed by a very light coat of Coach Green:

Left and right sides below cockpit are GN Grey Green:
Step 7 > Remove all masking.

Lower Skirt: Phase 1
Step 1 > At this point the skirt should already be the same color as the upper hull, primer with a coat of DS Surface Grey.

Step 2 > This can be left grey at this step, but I applied a light coat of Olive Oxide. When applying this layer, the idea is not to put a heavy coat on the entire part but leave some sections lighter and darker.

Step 3 > Mask any parts that you want to leave the lighter colors. There are many ways to do this, I like using liquid latex for the masking.

Step 4 > Once the masking fluid dries, put down a coat of Aurore Pink.

Step 5 > Following some of the same masked lines above, put down more masking on those sections that you wish to keep the pink color.

Step 6 > Coat the entire lower section with Boxcar Red.

Step 7 > Mask the ramp and the front section and paint both sections with Engine Black.

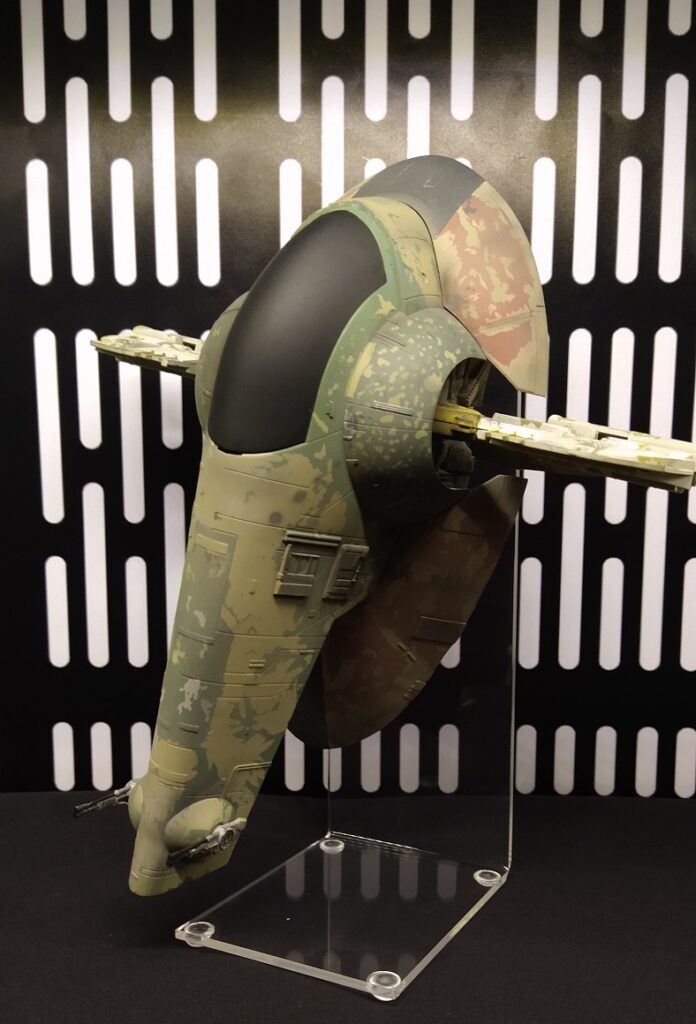
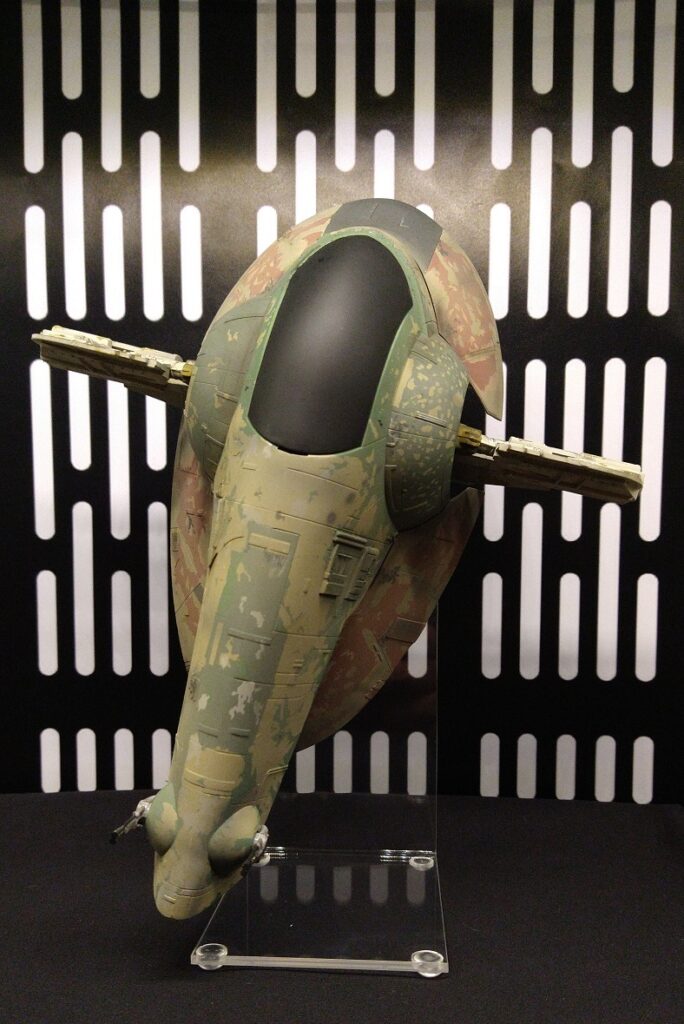
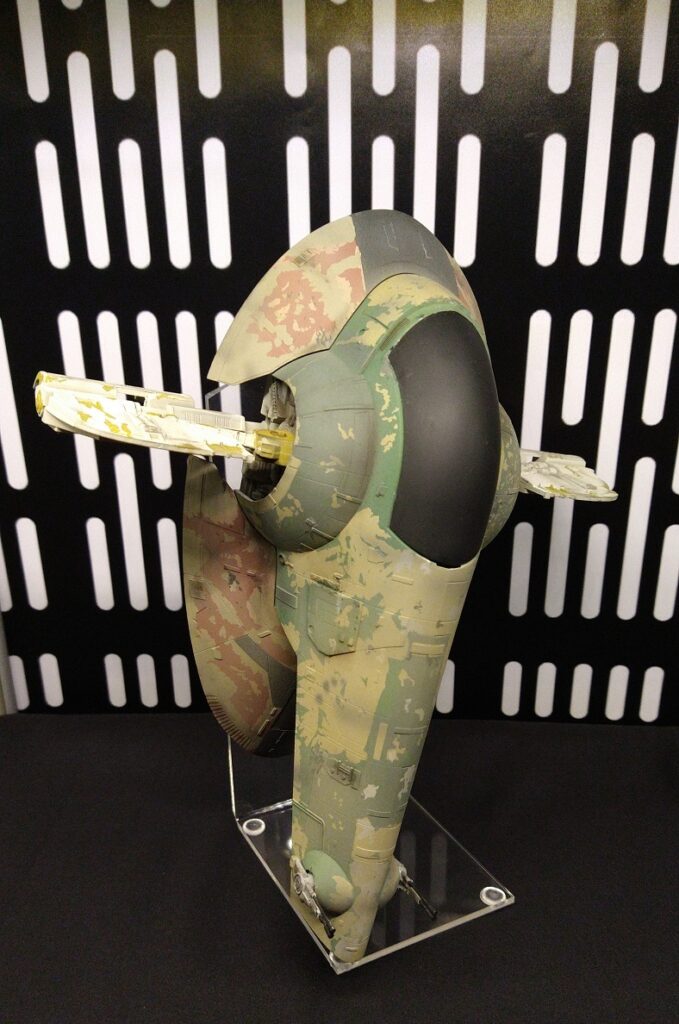
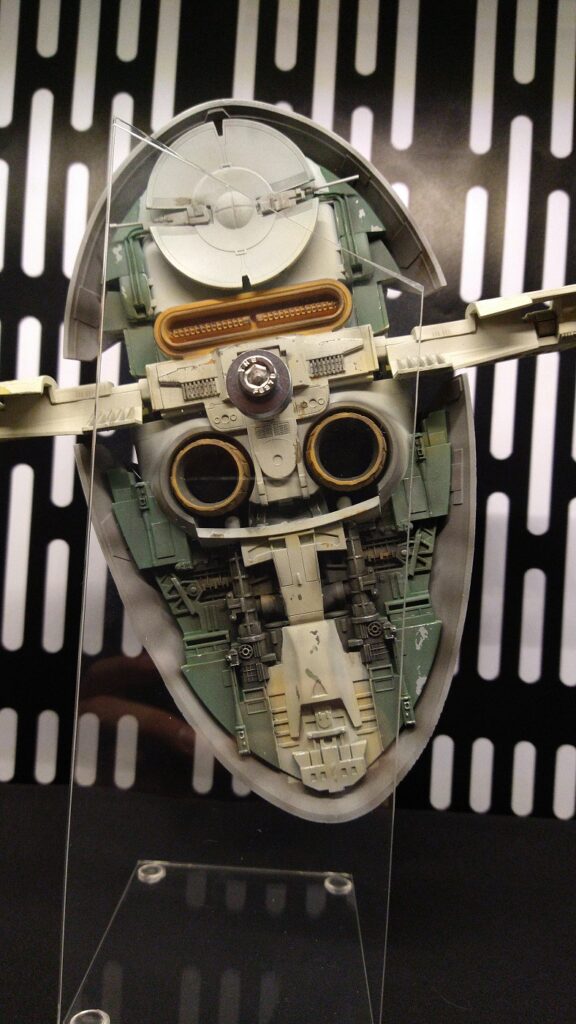
Finishing Phase
At this point you should end up with something similar to this:

Note how the ramp shows some of the previous processes, according to some this is how the actual filming miniature looks up close. You can choose to replicate this or not.
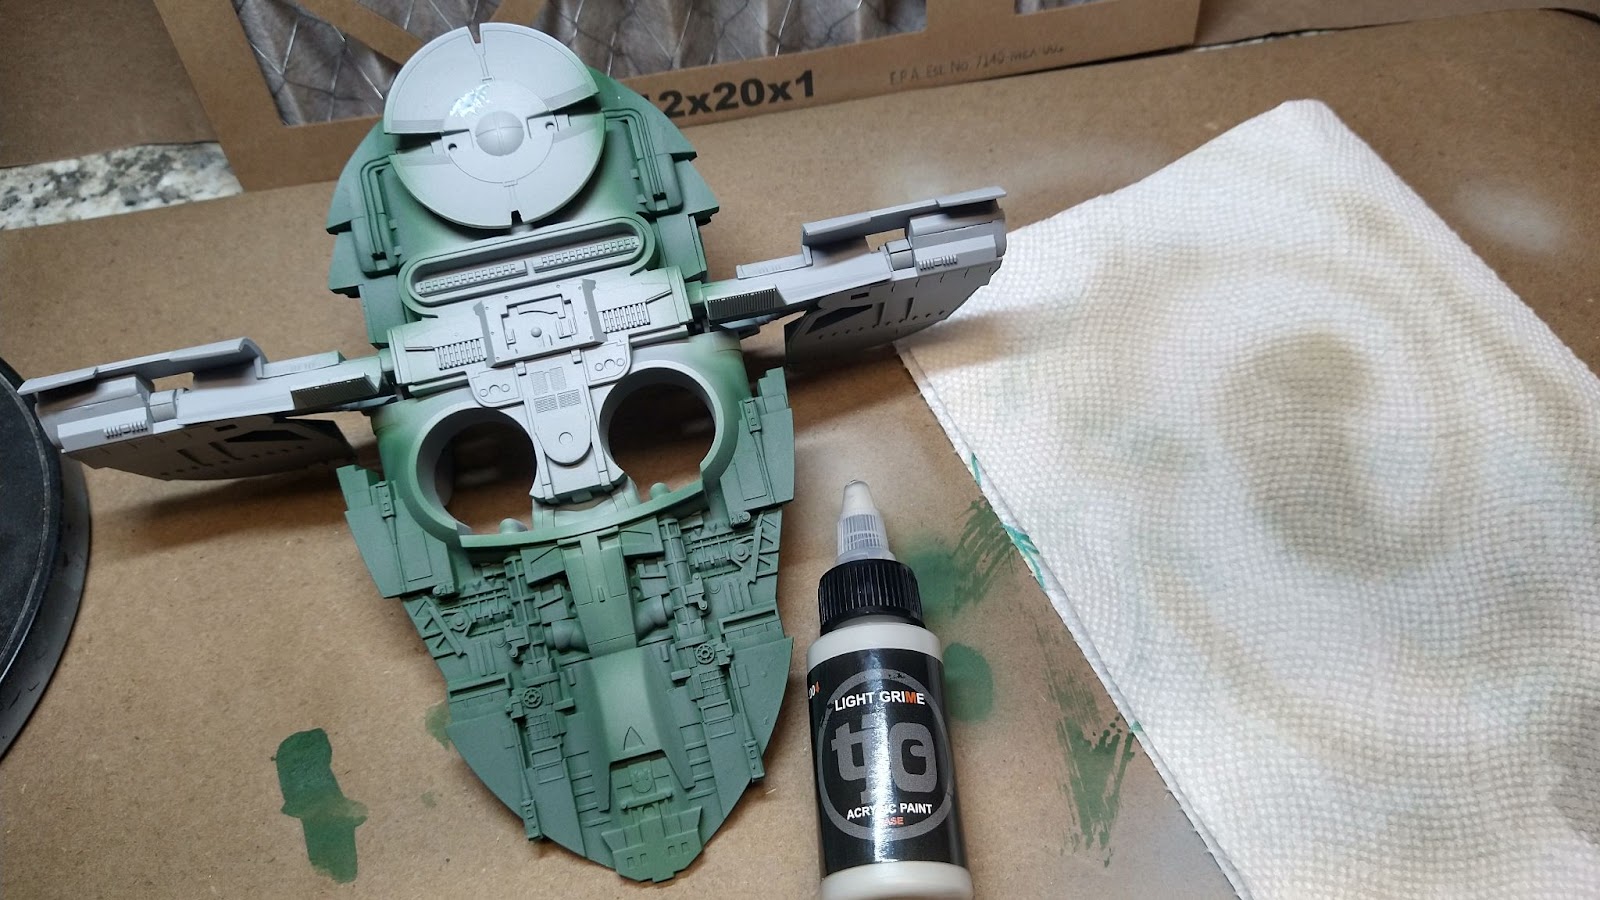
Step 1 > Mist the entire upper and lower sections with Light Grime.

Step 2 > Use whatever techniques you like for weathering at this point to add some extra details. Below I used a combination of a paint brush and the air brush to put down SP Lark Dark Grey in a few spots. DS Surface Grey was also used for some extra chipping effects in a few areas.

Step 3 > Mist the entire upper and lower hull sections with Light Earth.

Rear Engine Section and Wings
Step 1 > After a primer and a coat of Light Reefer Grey mask a few areas to retain the original base color if you wish for the chipping effects.

Step 2 > Apply a layer of Coach Green (change this to “Light Green”).

Step 3 > Apply a misting of light grime to take the paint down a few shades.
Step 4 > To get the wings and rear section correct start with a layer of Armour Yellow.
**INSERT PIC**
Step 5 > Mask the areas that you want to keep yellow.
**INSERT PIC**
Step 6 > Follow the Yellow with a coat of Reefer White.
**INSERT PIC**
Step 7 > Paint the engine shroud and lower sections DS Surface Grey:
Here are some of my favorite references: